Maintaining the elegant appearance of a home's exterior is a priority for any homeowner. The resilience of exterior paint is crucial to this upkeep, as it significantly influences the appearance and protection of a home. A long-lasting paint job isn't just about aesthetic appeal; it's about safeguarding the home against the elements while ensuring durability over the years.
The secret to extending the life of house paint lies in a few essential steps that begin well before the brush touches the siding. The right preparation, paint selection, and application techniques are just the starting point. Implementing regular maintenance and understanding the specific needs of various materials are also critical factors in the longevity of exterior paint. In the pursuit of enduring beauty and protection for my home, I've learned there are no shortcuts to quality.
Key Takeaways
- Proper preparation is foundational for long-lasting paint.
- Regular maintenance and care extend paint life significantly.
- Choosing quality paint suited to the material is essential for durability.
Preparing the Surface
Before I delve into the specific tasks, it's crucial to understand that a well-prepared surface is the bedrock of enduring exterior paint. Meticulous surface preparation can prevent premature peeling and cracking, ensuring a professional finish that stands the test of time.
Cleaning and Treating
The first step I take in preparing a surface for painting is a thorough cleaning. I always power wash the exterior to eliminate dirt, grime, and any biological growth such as mildew. It's critical to achieve a clean surface that allows the primer and paint to adhere properly. If there are areas affected by mould or algae, treatment with a suitable fungicidal wash is essential.
Cleaning Steps:
- Power wash to remove all dirt and grime.
- Treat mould or mildew with a fungicide.
- Allow the surface to dry completely.
Sanding and Repairing
Next, I turn my attention to sanding and repairing any imperfections in the substrate. I meticulously scrape off any flaking or peeling paint and sand the area to smooth out rough spots. For wooden surfaces, I make sure to fill in cracks or dents with wood filler and sand them down once dried. Repairing any damages is a fundamental part of quality surface preparation.
Repair Checklist:
- Scrape away loose paint.
- Apply wood filler to imperfections.
- Sand for a smooth finish.
Priming the Base
Finally, applying a primer is akin to laying a strong foundation. I opt for a high-quality primer suited to the exterior material, be it wood, metal, or masonry. Priming ensures that my topcoat has a uniform surface to bind to and often helps in covering any pre-existing stains. Whether it’s a new surface or a repaint, a coat of primer is pivotal for a lasting paint job.
Priming Protocols:
- Choose the right type of primer for the material.
- Apply an even coat across the surface.
- Allow primer to dry completely before painting.
Selecting the Right Paint
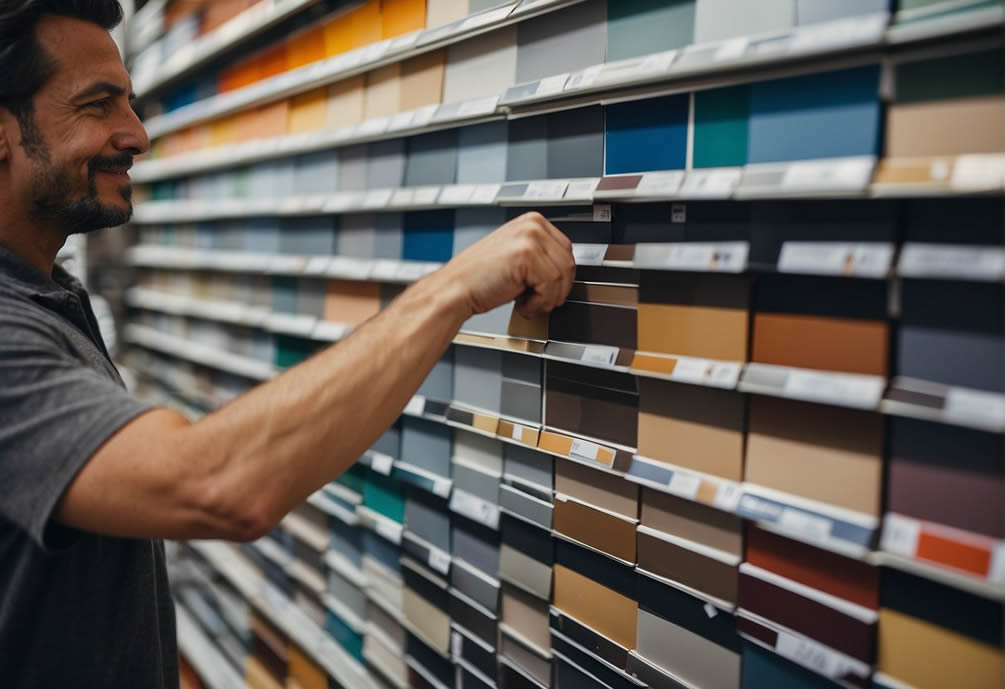
The longevity of an exterior paint job significantly hinges on selecting high-quality paint that's formulated specifically for outdoor use.
Acrylic Vs Oil-Based Paints
I've found that acrylic latex paint is often preferred for exterior projects due to its durability and ease of cleaning. It tends to adhere better to surfaces, even in challenging weather conditions. Oil-based paints, on the other hand, are good for priming real wood to seal the grain and prevent tannins from bleeding through, but they often require more time to dry and can be less resistant to cracking.
Choosing the Correct Gloss Level
When selecting paint, also consider the gloss level. Paint finishes can range from flat to high gloss, with each offering different levels of sheen. A satin finish is popular for exteriors; it has a slight gloss that's easy to clean and doesn't highlight imperfections as much as higher gloss finishes. However, it's crucial to note that higher gloss paint tends to show imperfections more easily but is simpler to clean, which is important for areas that gather more dirt.
Weather-Adaptive Additives
Moreover, I opt for paints with specialised weather-adaptive additives for the best results in the unpredictable Australian climate. These additives improve the paint's resistance to elements like intense UV rays and salt spray, which can cause fading and peeling. Also, while considering environmental impact, I'll look for zero-VOC paints which contain minimal volatile organic compounds (VOCs), making them a healthier choice for our environment.
Best Practices for Paint Application
Ensuring a high-quality exterior paint finish hinges on selecting optimal conditions, employing efficient techniques, and utilising top-notch tools.
Optimal Climate Conditions
To begin with, always take into account the climate conditions before opening that first tin of paint. The ideal temperature for painting outdoors is between 10°C and 30°C. Extremes in temperature or high humidity levels can hinder the paint's drying process and affect the overall finish. It's crucial to avoid moisture, so I recommend not painting if there's rain expected within 24 hours or if dew is likely to form.
Efficient Techniques
Next, the application technique can make a substantial difference. Start from the top and work way down, which prevents drips and streaks. Using long strokes helps to spread the paint evenly. For a finish that will stand the test of time, it is important to apply at least two coats; waiting for the first coat to dry completely before applying the second ensures the best adhesion and durability.
Using Quality Tools
Finally, the choice of equipment is a matter often overlooked. High-grade rollers and brushes play a key role in achieving a smooth, professional finish. Always ensure to use drop cloths to protect the surrounding areas and to keep workspace neat. Quality tools not only deliver a better paint job but also reduce the amount of wasted material and time spent on touch-ups.
Maintenance and Care
To keep home exterior paint in top condition, focus on a few key practices: routine cleaning, prompt damage control, and regular touch-ups. These actions maximise the paint's lifespan, ensuring both durability and visual appeal.
Routine Cleaning
Make a habit to regularly clean the painted surfaces of house. By using a soft brush or low-pressure water spray, remove dust, dirt, and debris that can accumulate and lead to paint degradation. Mildew, a common issue in Australia's humid climate, is preventable through the addition of mildewcide in the paint mixture or by using specialised cleaning solutions that target fungal growth.
Addressing Damage
Inspecting for and addressing damage promptly is key in maintenance. If you find any cracks, peeling, or blistering of the paint, immediate repairs are crucial to prevent further damage. For instance, exposed wood is vulnerable to rot, and metal surfaces may rust if not protected by paint, so take care to seal these areas quickly.
Touch-Ups and Repainting
While touch-ups are often sufficient for minor blemishes, some areas may require more attention over time. Consider repainting areas that have significant wear and tear or fading. This is not only an investment in the appearance of home but also in its protection. Repainting before the entire surface is compromised can save time and resources in the long run.
Considerations for Various Materials
Selecting the right paint and technique is critical to ensure my exterior paintwork withstands the elements and time. Each surface material requires careful consideration to guarantee both longevity and aesthetic appeal.
Wood and Siding
For wood surfaces, ensure the paint or stain offers protection from moisture and UV rays. Preparing the wood is a must — a thorough cleaning, sanding, and priming set the stage for a lasting finish. I often recommend water-resistant and fungi-resistant paints for these surfaces, particularly when dealing with weatherboards or wood sidings that are exposed to diverse weather conditions.
Masonry and Stucco
Masonry and stucco are typically porous surfaces. So, the paint needs to breathe and offer flexibility.
When work with brick, render, or stucco, chose a high-quality, elastomeric coating. This coating is designed to bridge small cracks and prevent future ones.
I always remind myself to allow any new masonry to cure properly before painting. This prevents efflorescence, which may cause the paint to deteriorate prematurely.
Metal and Vinyl Surfaces
When it comes to metal and vinyl, the key is to use products specifically formulated for these materials.
For metal surfaces, including steel, a rust-inhibiting primer is essential for preventing corrosion. After that, use a paint that can contract and expand with the temperature changes.
On the other hand, for vinyl siding, use a paint that can adhere well to plastic materials and resist fading from sun exposure.
It's worth noting that the paint colour for vinyl often needs to be as light as or lighter than the original colour to avoid warping due to heat absorption.